
 Fall is officially here, and that makes me want to bake fall-themed treats, drink warm beverages out of cute mugs, and cuddle near the fireplace in my oversized sweaters with my fur baby. While I really wanted to embrace the pumpkin flavors, I decided to go a different fall route with ginger and cinnamon! (But really though, when I went to get my ingredients, there was absolutely no pumpkin pie spice left in the baking aisle. Shame on all of you that got to it before me!)
Ingredients for cut-out cookies:

1 ½ cups all-purpose flour
½ cup butter or margarine (I used I Can’t Believe It’s Not Butter Light)
¼ cup light brown sugar, packed
¼ cup white sugar
1 egg
1 tsp baking powder
¼ tsp ground ginger
½ tsp ground cinnamon
½ tsp vanilla extract
Directions:
Step 1: Preheat oven to 350
Step 2: Mix together flour, baking powder, ginger, and cinnamon. Set aside.
Step 3: Blend together brown sugar, white sugar, and butter until smooth. Add egg and vanilla extract and mix together.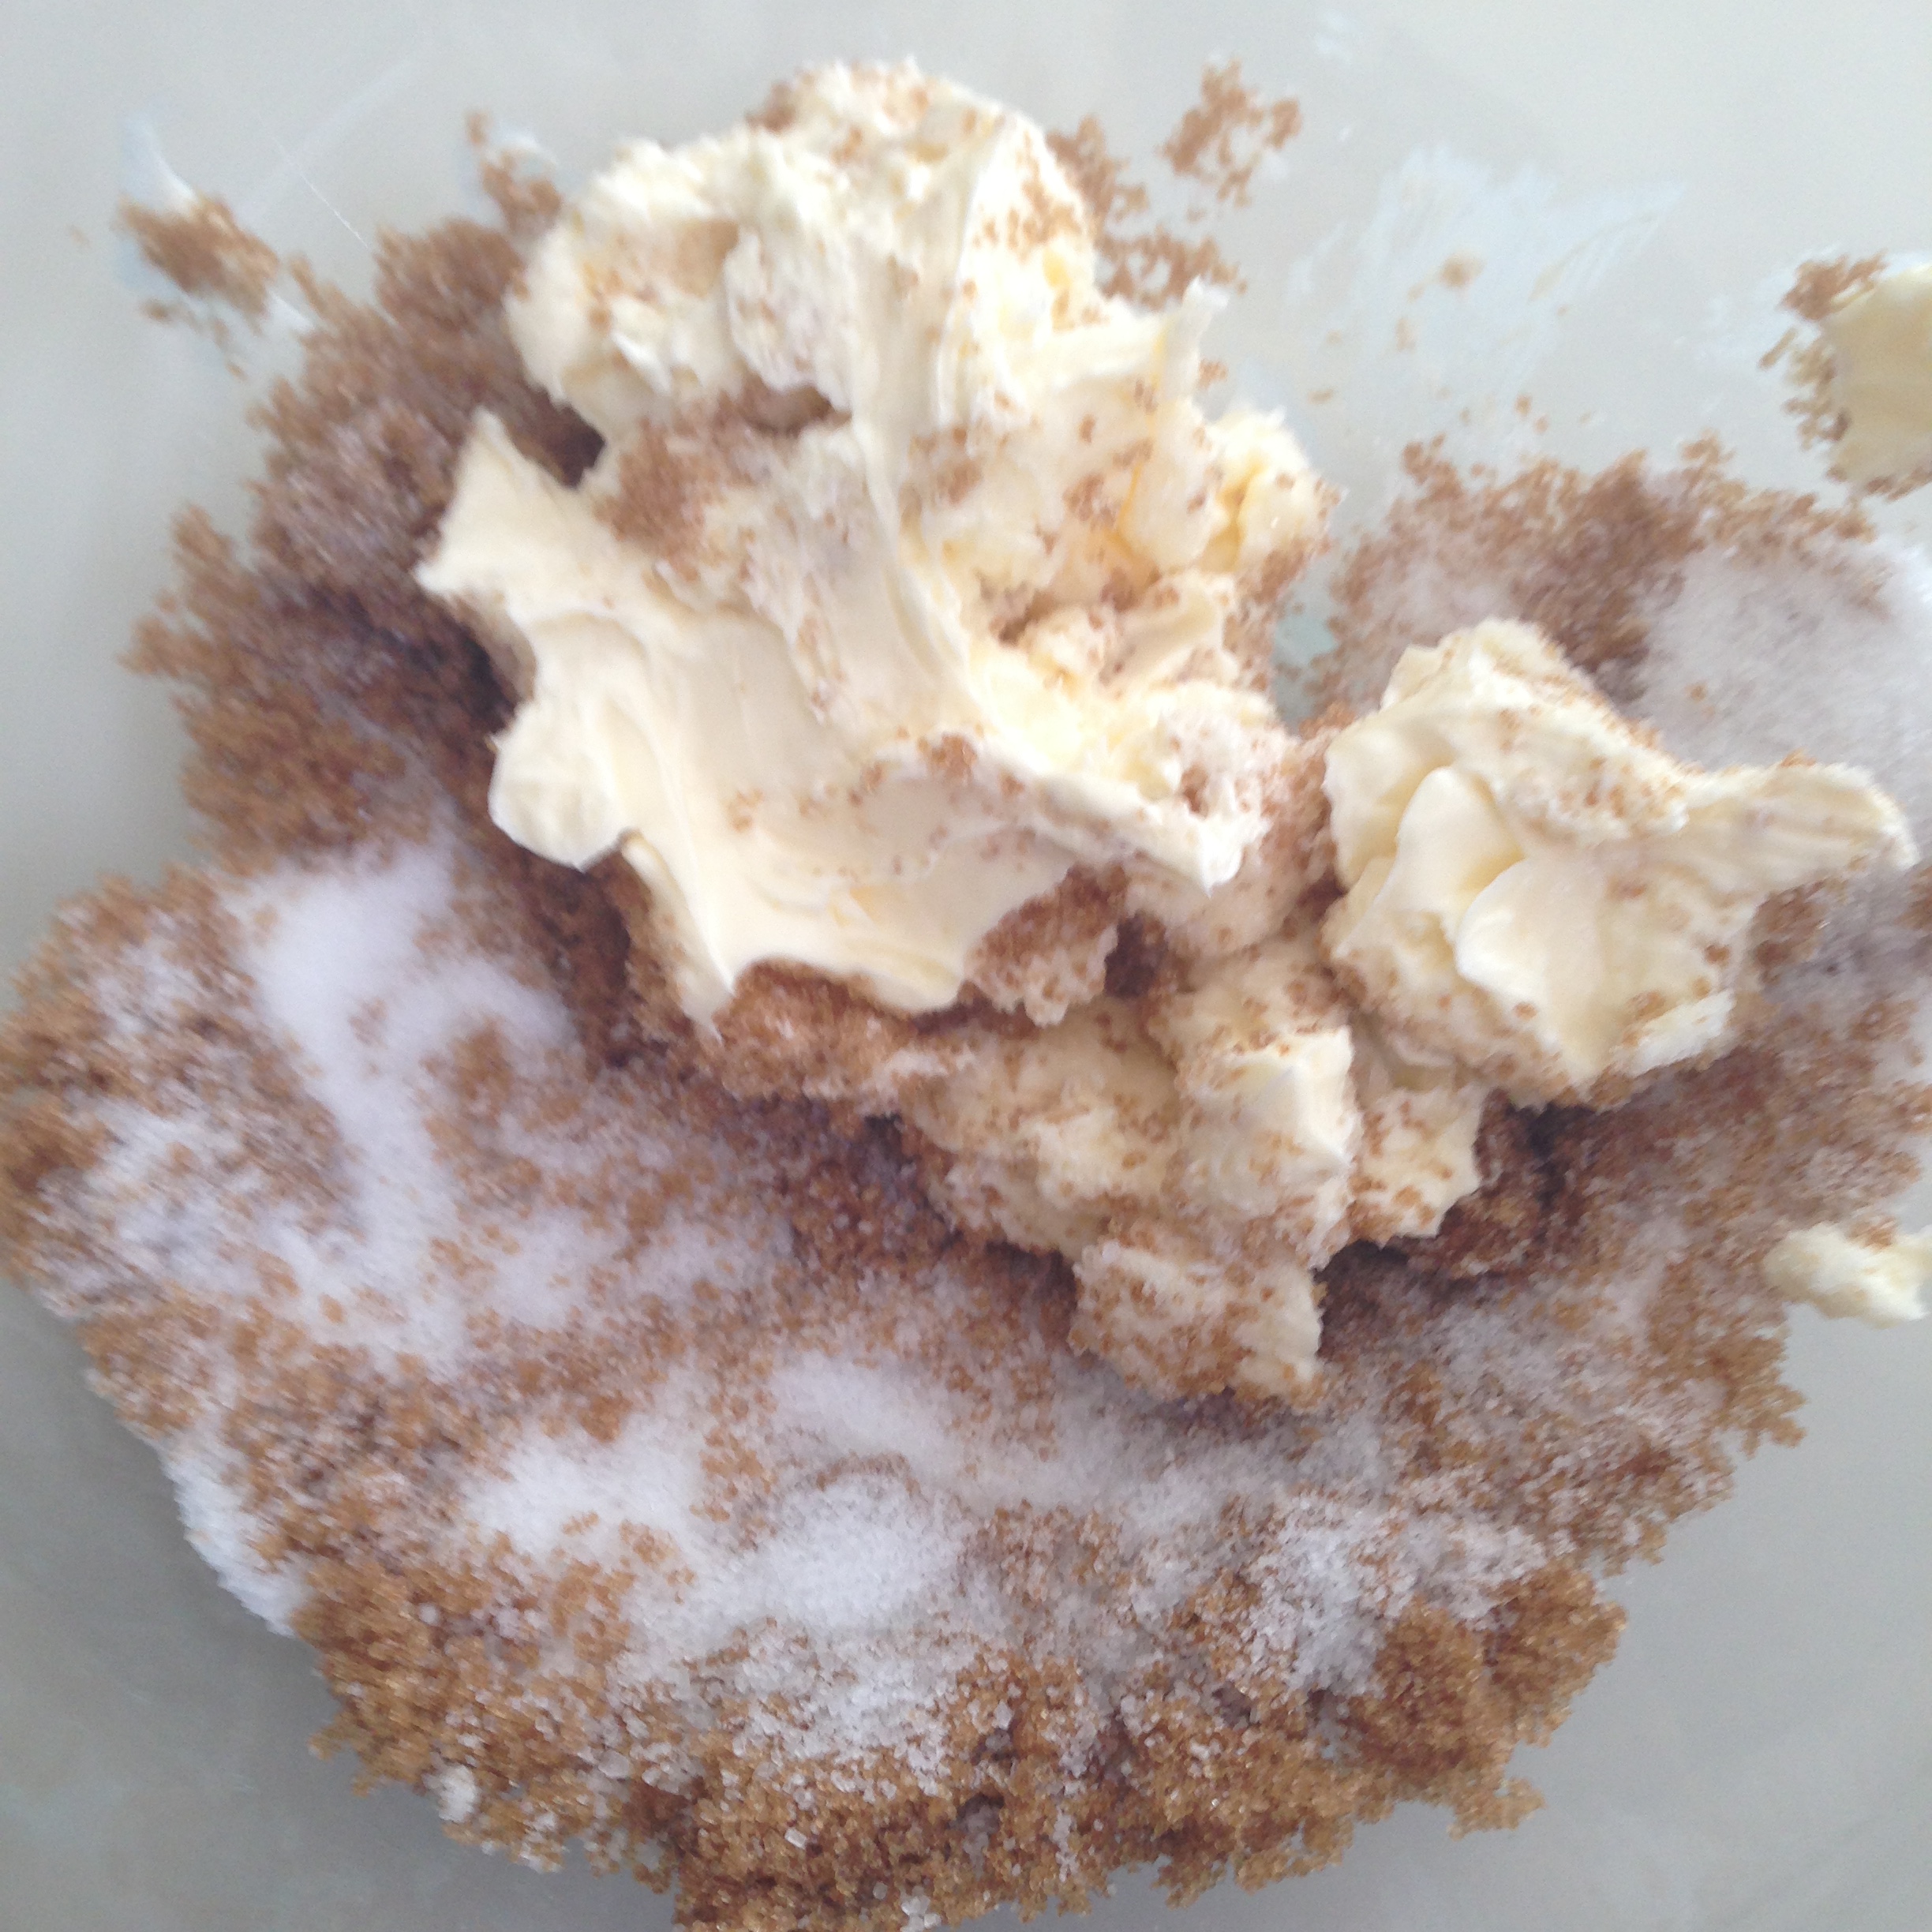


Step 4: Slowly add in the flour mixture to the butter/sugar mixture and beat together. It will slowly become thicker and more dough-like, so you may have to use your hands to blend everything completely together.

Step 5: Flour the surface you’re going to roll out your dough. Roll out your dough to about ¼ an inch thick.


Step 6: Cut out shapes in the dough and transfer to a parchment lined baking sheet.

Step 7: Bake for 10-12 minutes depending on how soft/crunchy you want your cookies to be.
Step 8: Remove from oven and let cookies cool completely before beginning to decorate. (This is important, because you don’t want your decorations to melt!)
Ingredients for Cinnamon Icing:

Border Icing:
1 cup powdered sugar
¼ tsp vanilla extract
¼ tsp ground cinnamon
2 ½ tbsp water (you may need more or less)

An easy way to pipe the border icing around the edges of the cookie is by placing it in a plastic sandwich bag and snipping of a tiny piece of the corner of the bag.

Be sure to decorate on top of parchment paper, just in case any icing causes your cookie to stick to the surface you’re working on.
Flood Icing:
1 cup powdered sugar
¼ tsp vanilla extract
¼ tsp ground cinnamon
3 tbsp water (you may need more or less)
Food coloring, optional

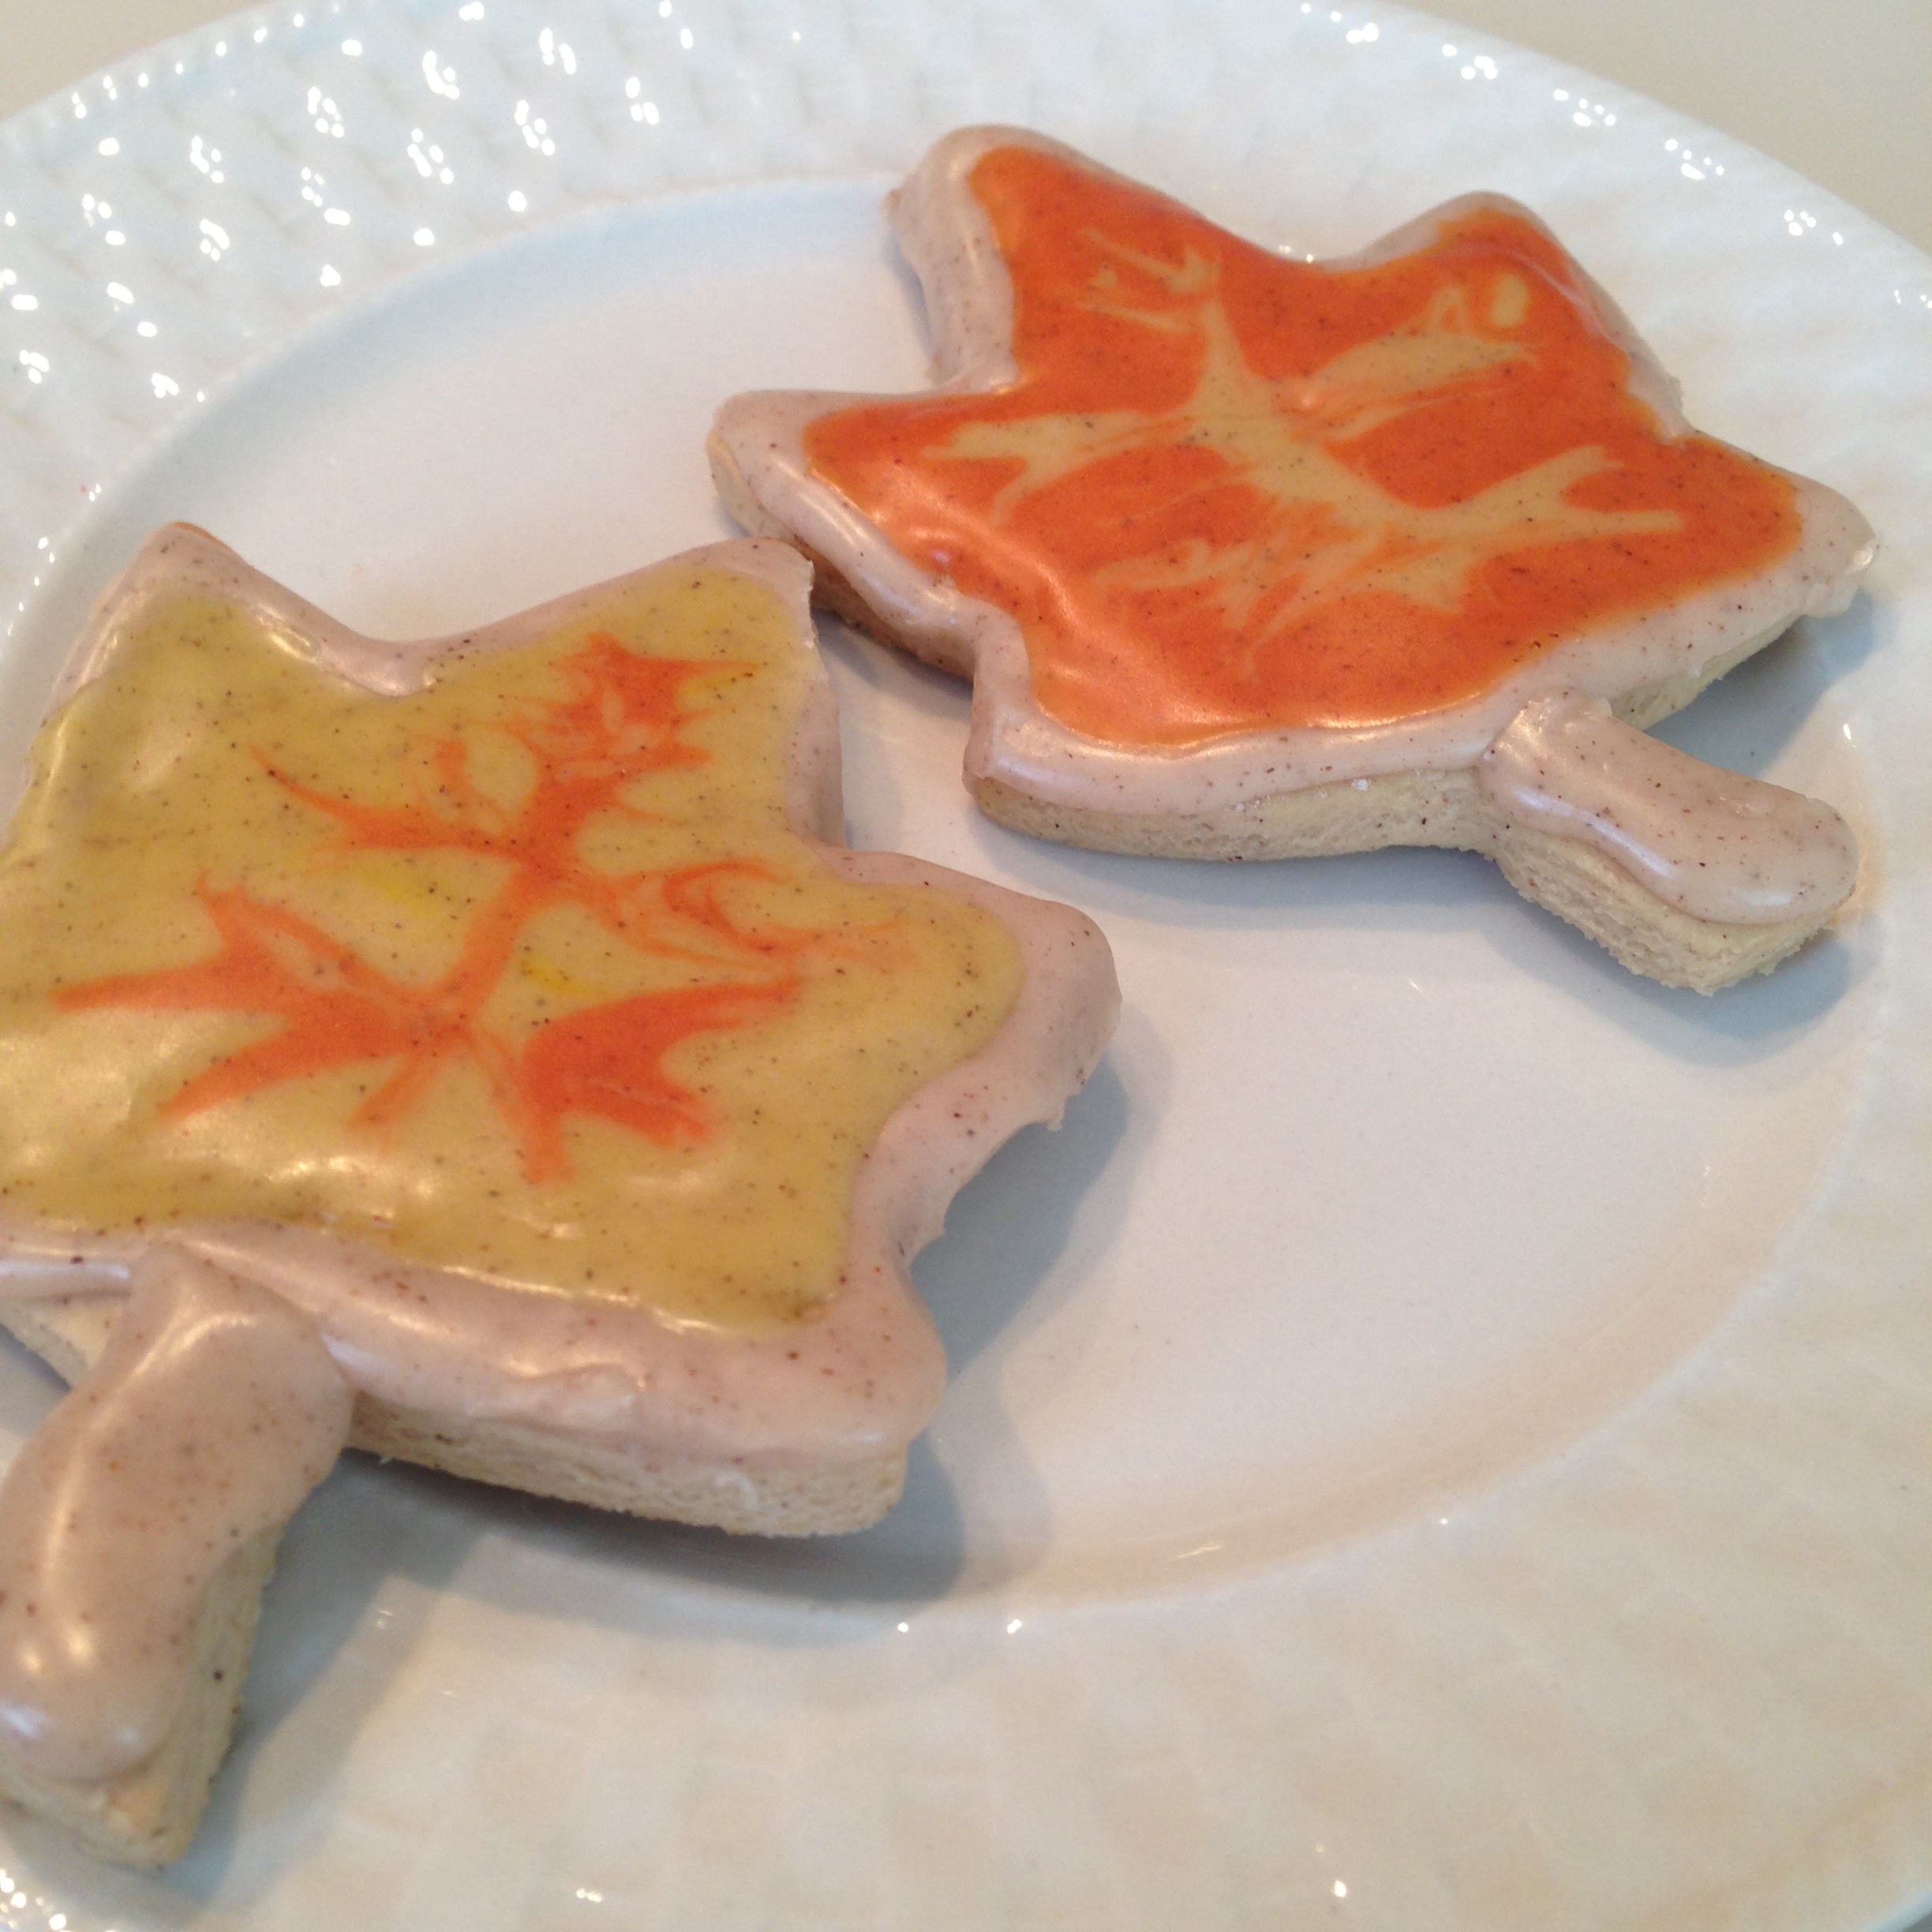
Because this icing has cinnamon in it, it is naturally a brown color, which I kept for my border icing. The left icing has 1 drop of yellow in it, and the right icing has 2 drops of yellow and 3 drops of red.

An easy way to quickly spread out flood icing, is to use a small spreader to smooth out the icing around the entire cookie.
Directions:
Step 1: Combine powdered sugar, vanilla extract and ground cinnamon in a mixing bowl.
Step 2: Slowly add water until you get to your desired consistency. If you’re adding food coloring, take note that it is a liquid that will water down your mixture…if you need to add more powdered sugar to thicken it back up, that’s completely fine.
If you don’t know, the difference between “border” icing and “flood” icing is the thickness. Border icing is slightly thicker than flood icing, and essentially creates a barrier, so the flood icing doesn’t spill over the sides of the cookie. It may take you more or less water to achieve both icing thicknesses than it took me, but if you need some help figuring it out, this blog I stumbled upon will really help you understand icing for cookies in general!
Here are my cookies!


In order to create this look, add your second color on top of the first icing color using a toothpick, and pull the icing whichever direction you want it to go.

Allow cookies to completely dry for about an hour, before storing them.

When storing cookies, be sure to separate any layers with parchment paper to prevent sticking together.


Try these cookies out and let me know what you think!
Bows and Arrows,
Lynda
